Getting Started 4/6 — Add Your Staff and Set Their Permissions
Add an employee in two steps: their info and branch access, then fine-grained permissions switch by switch — or one click via ready-made roles. Each employee sees only what you allow.
🚀 Getting Started Series — Part 4 of 6 · Stage: Setup · Full series index
What you will learn
- Adding an employee with their details and login.
- Scoping access: all branches or specific ones.
- Setting permissions via ready roles or fine-grained switches.
Step 1: Open the staff list
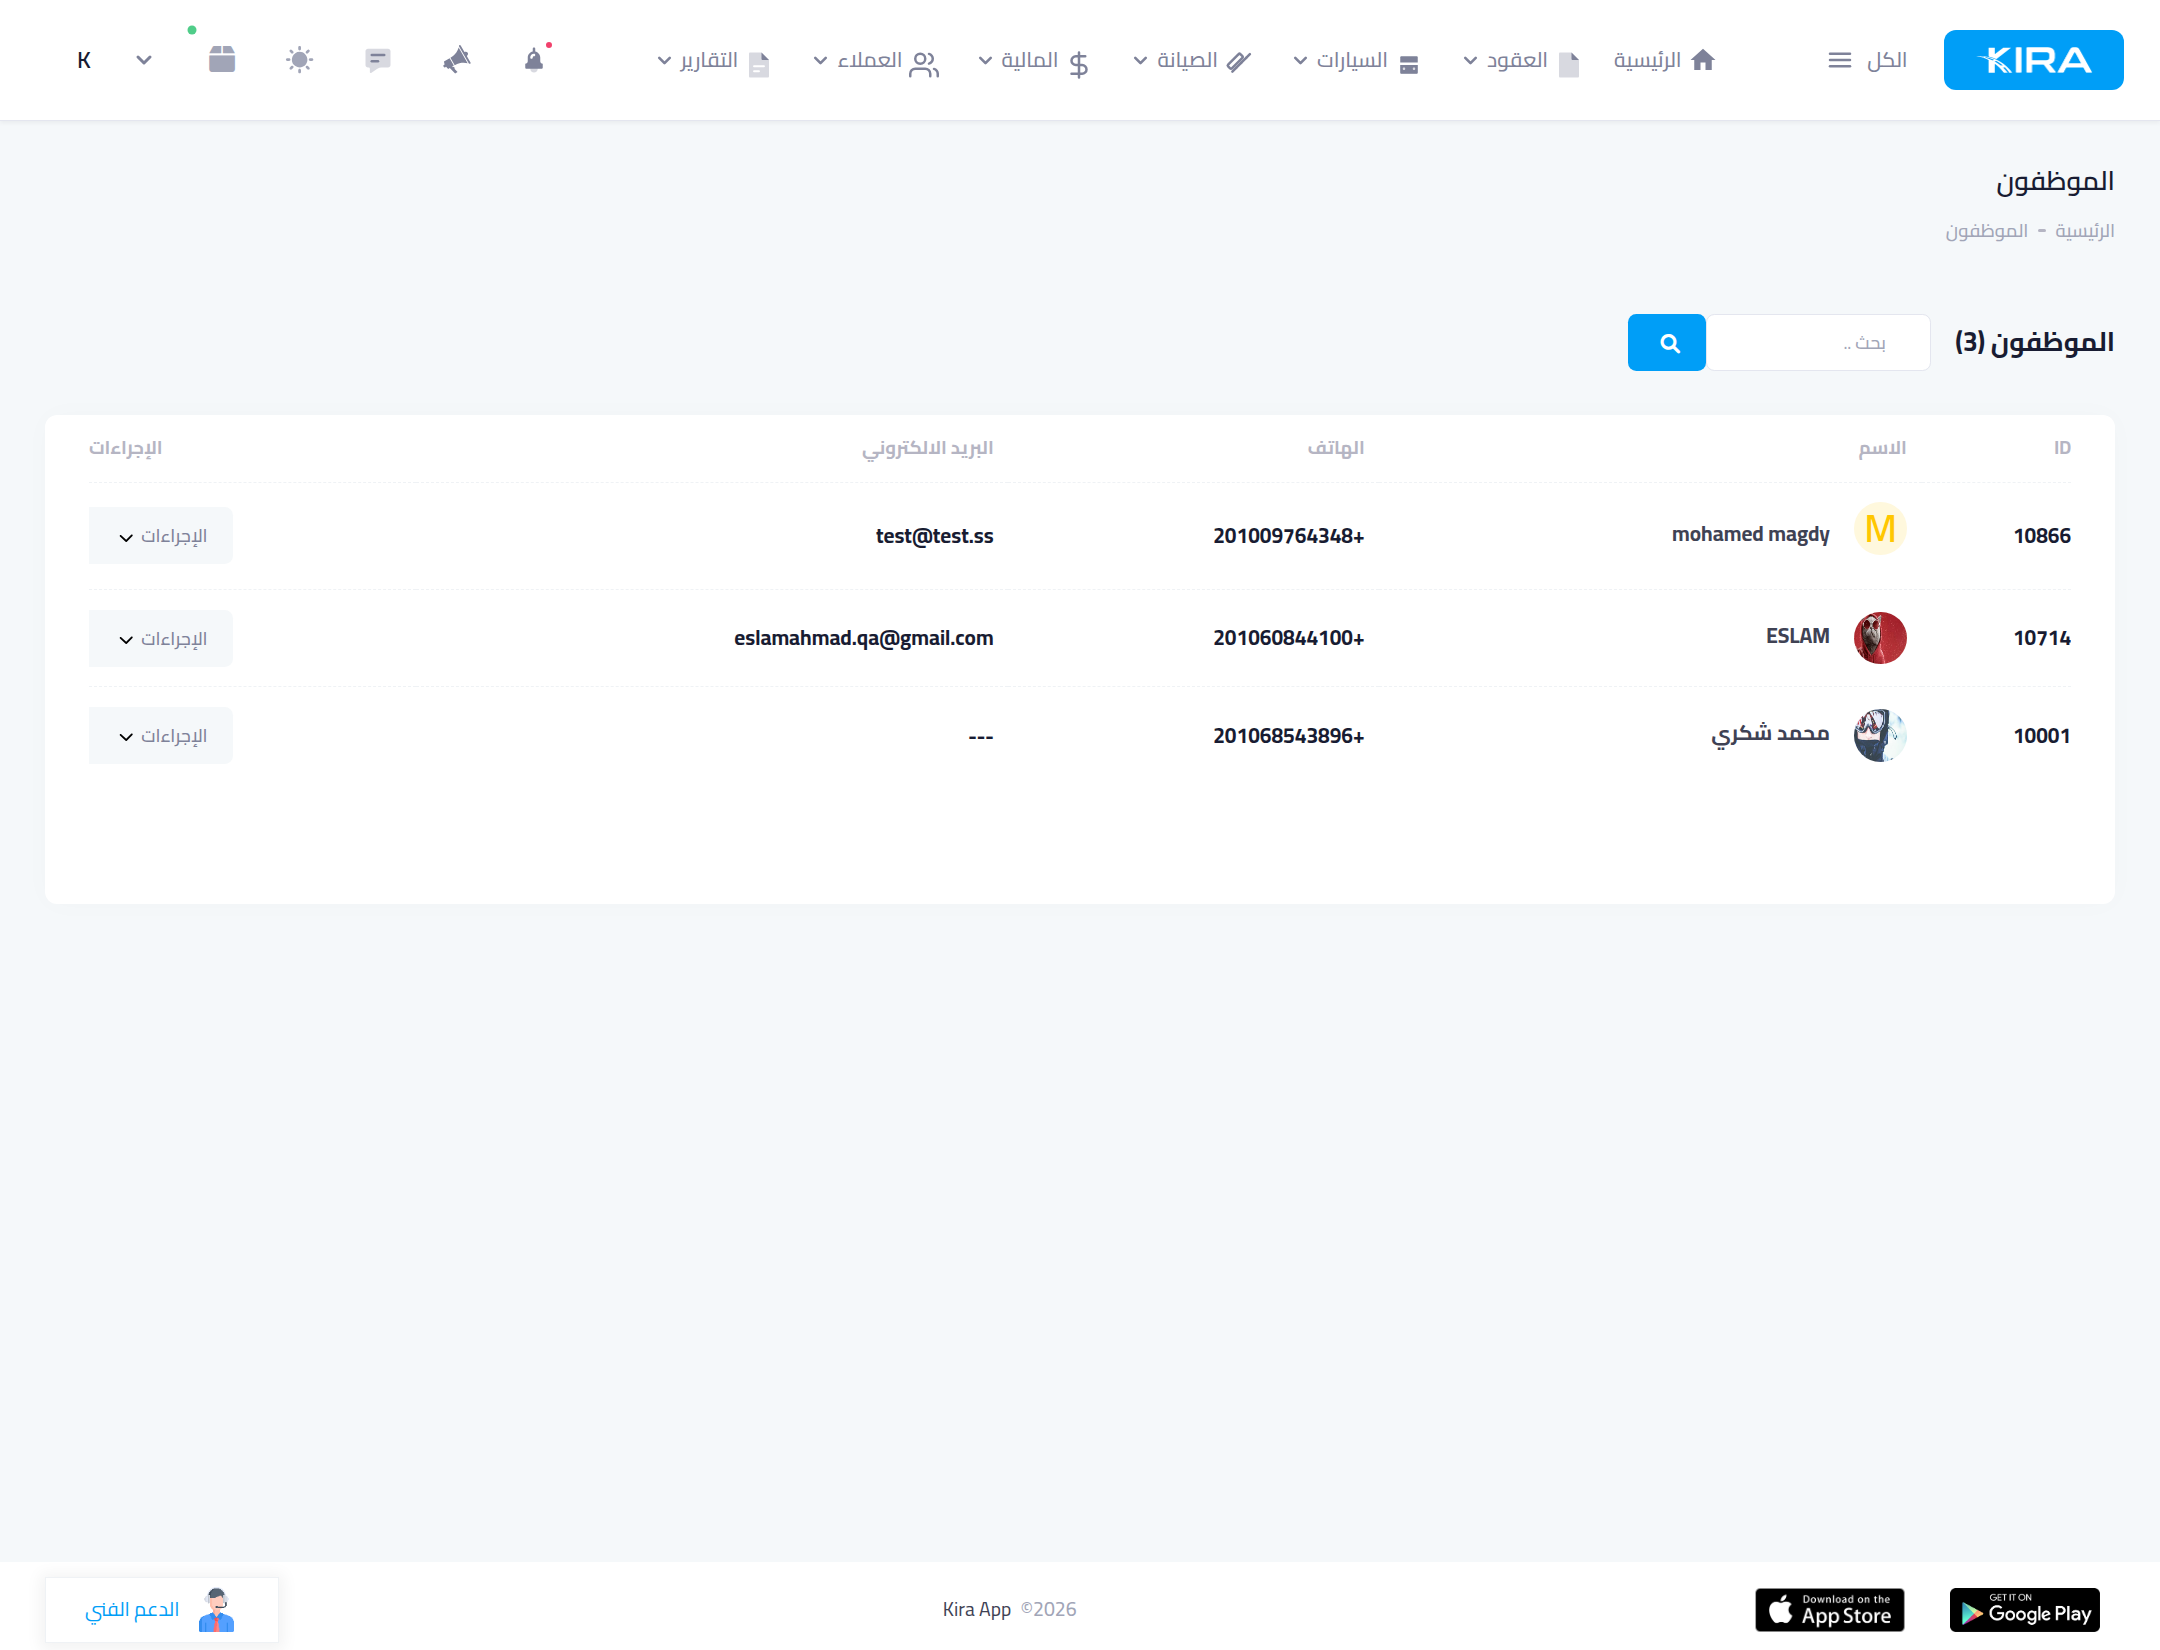
From the “Customers” menu open “Staff” — the list shows your employees with names, phones and emails; the actions buttons edit any employee's details or permissions later.
Step 2: Basic info and branch access
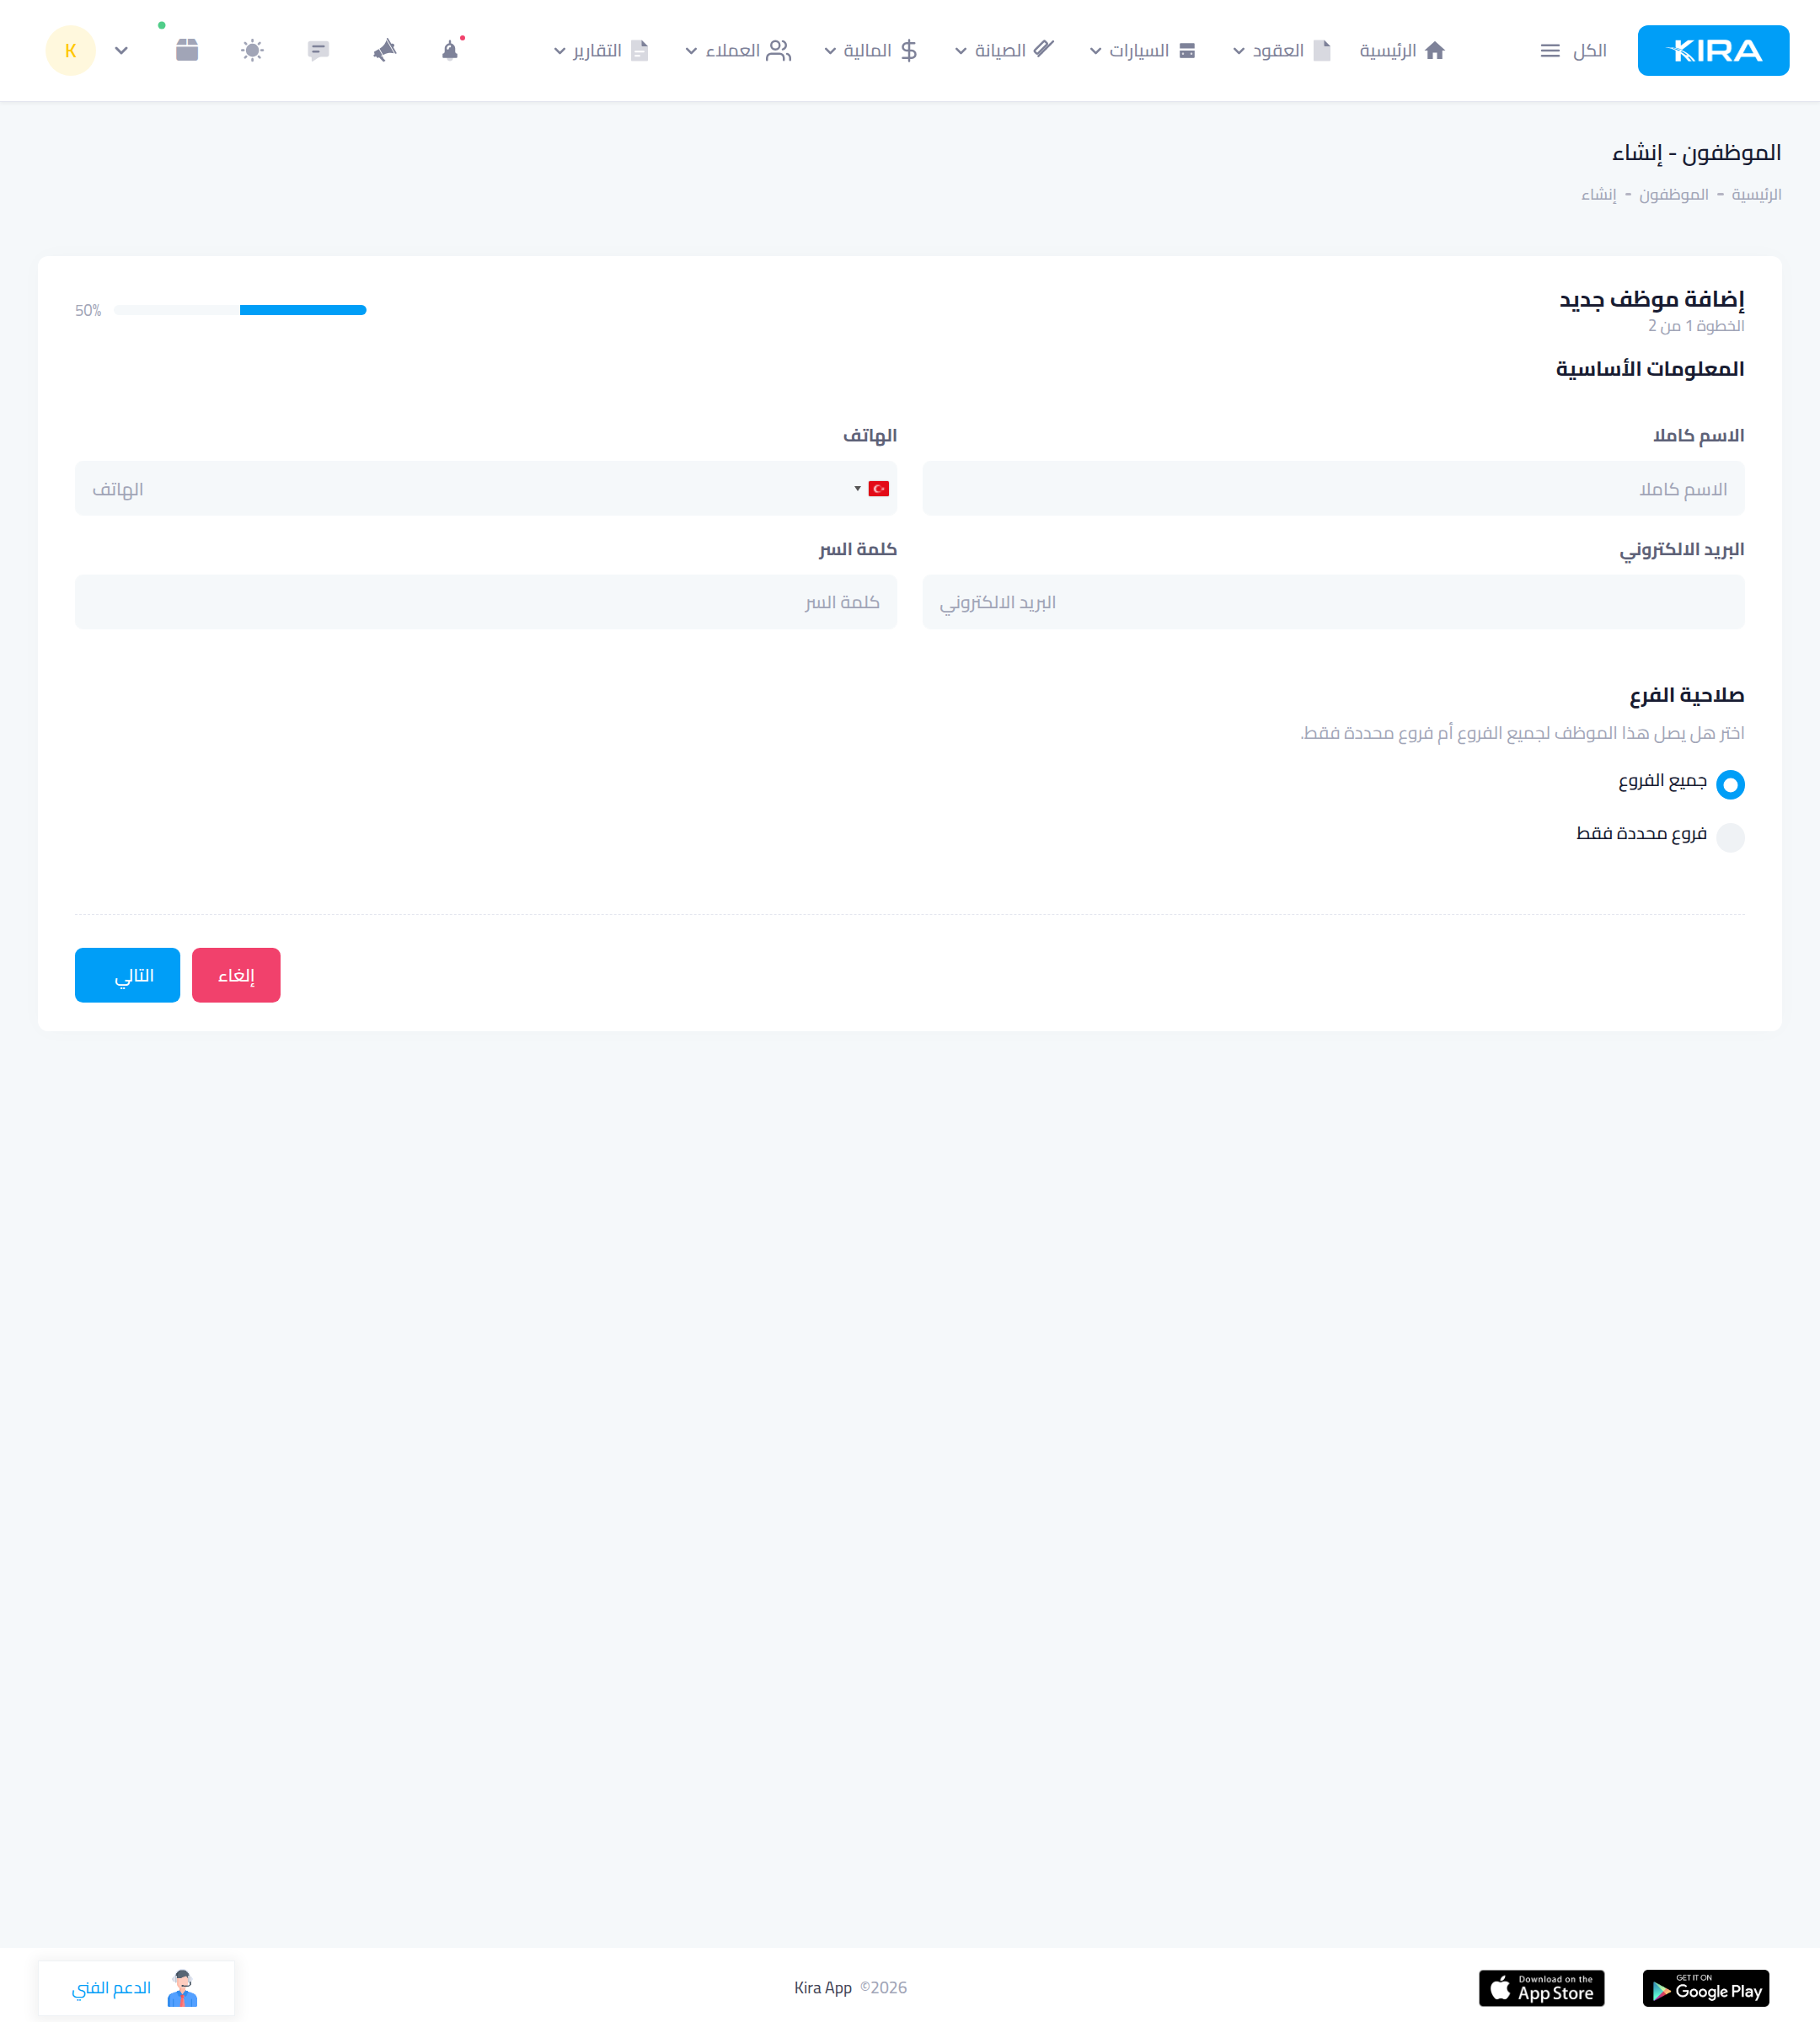
- Full name, WhatsApp number (their login), email and password.
- Branch access: pick “all branches” for supervisors, or “specific branches only” for single-site staff — they won't see other branches' cars and contracts.
Step 3: Permissions
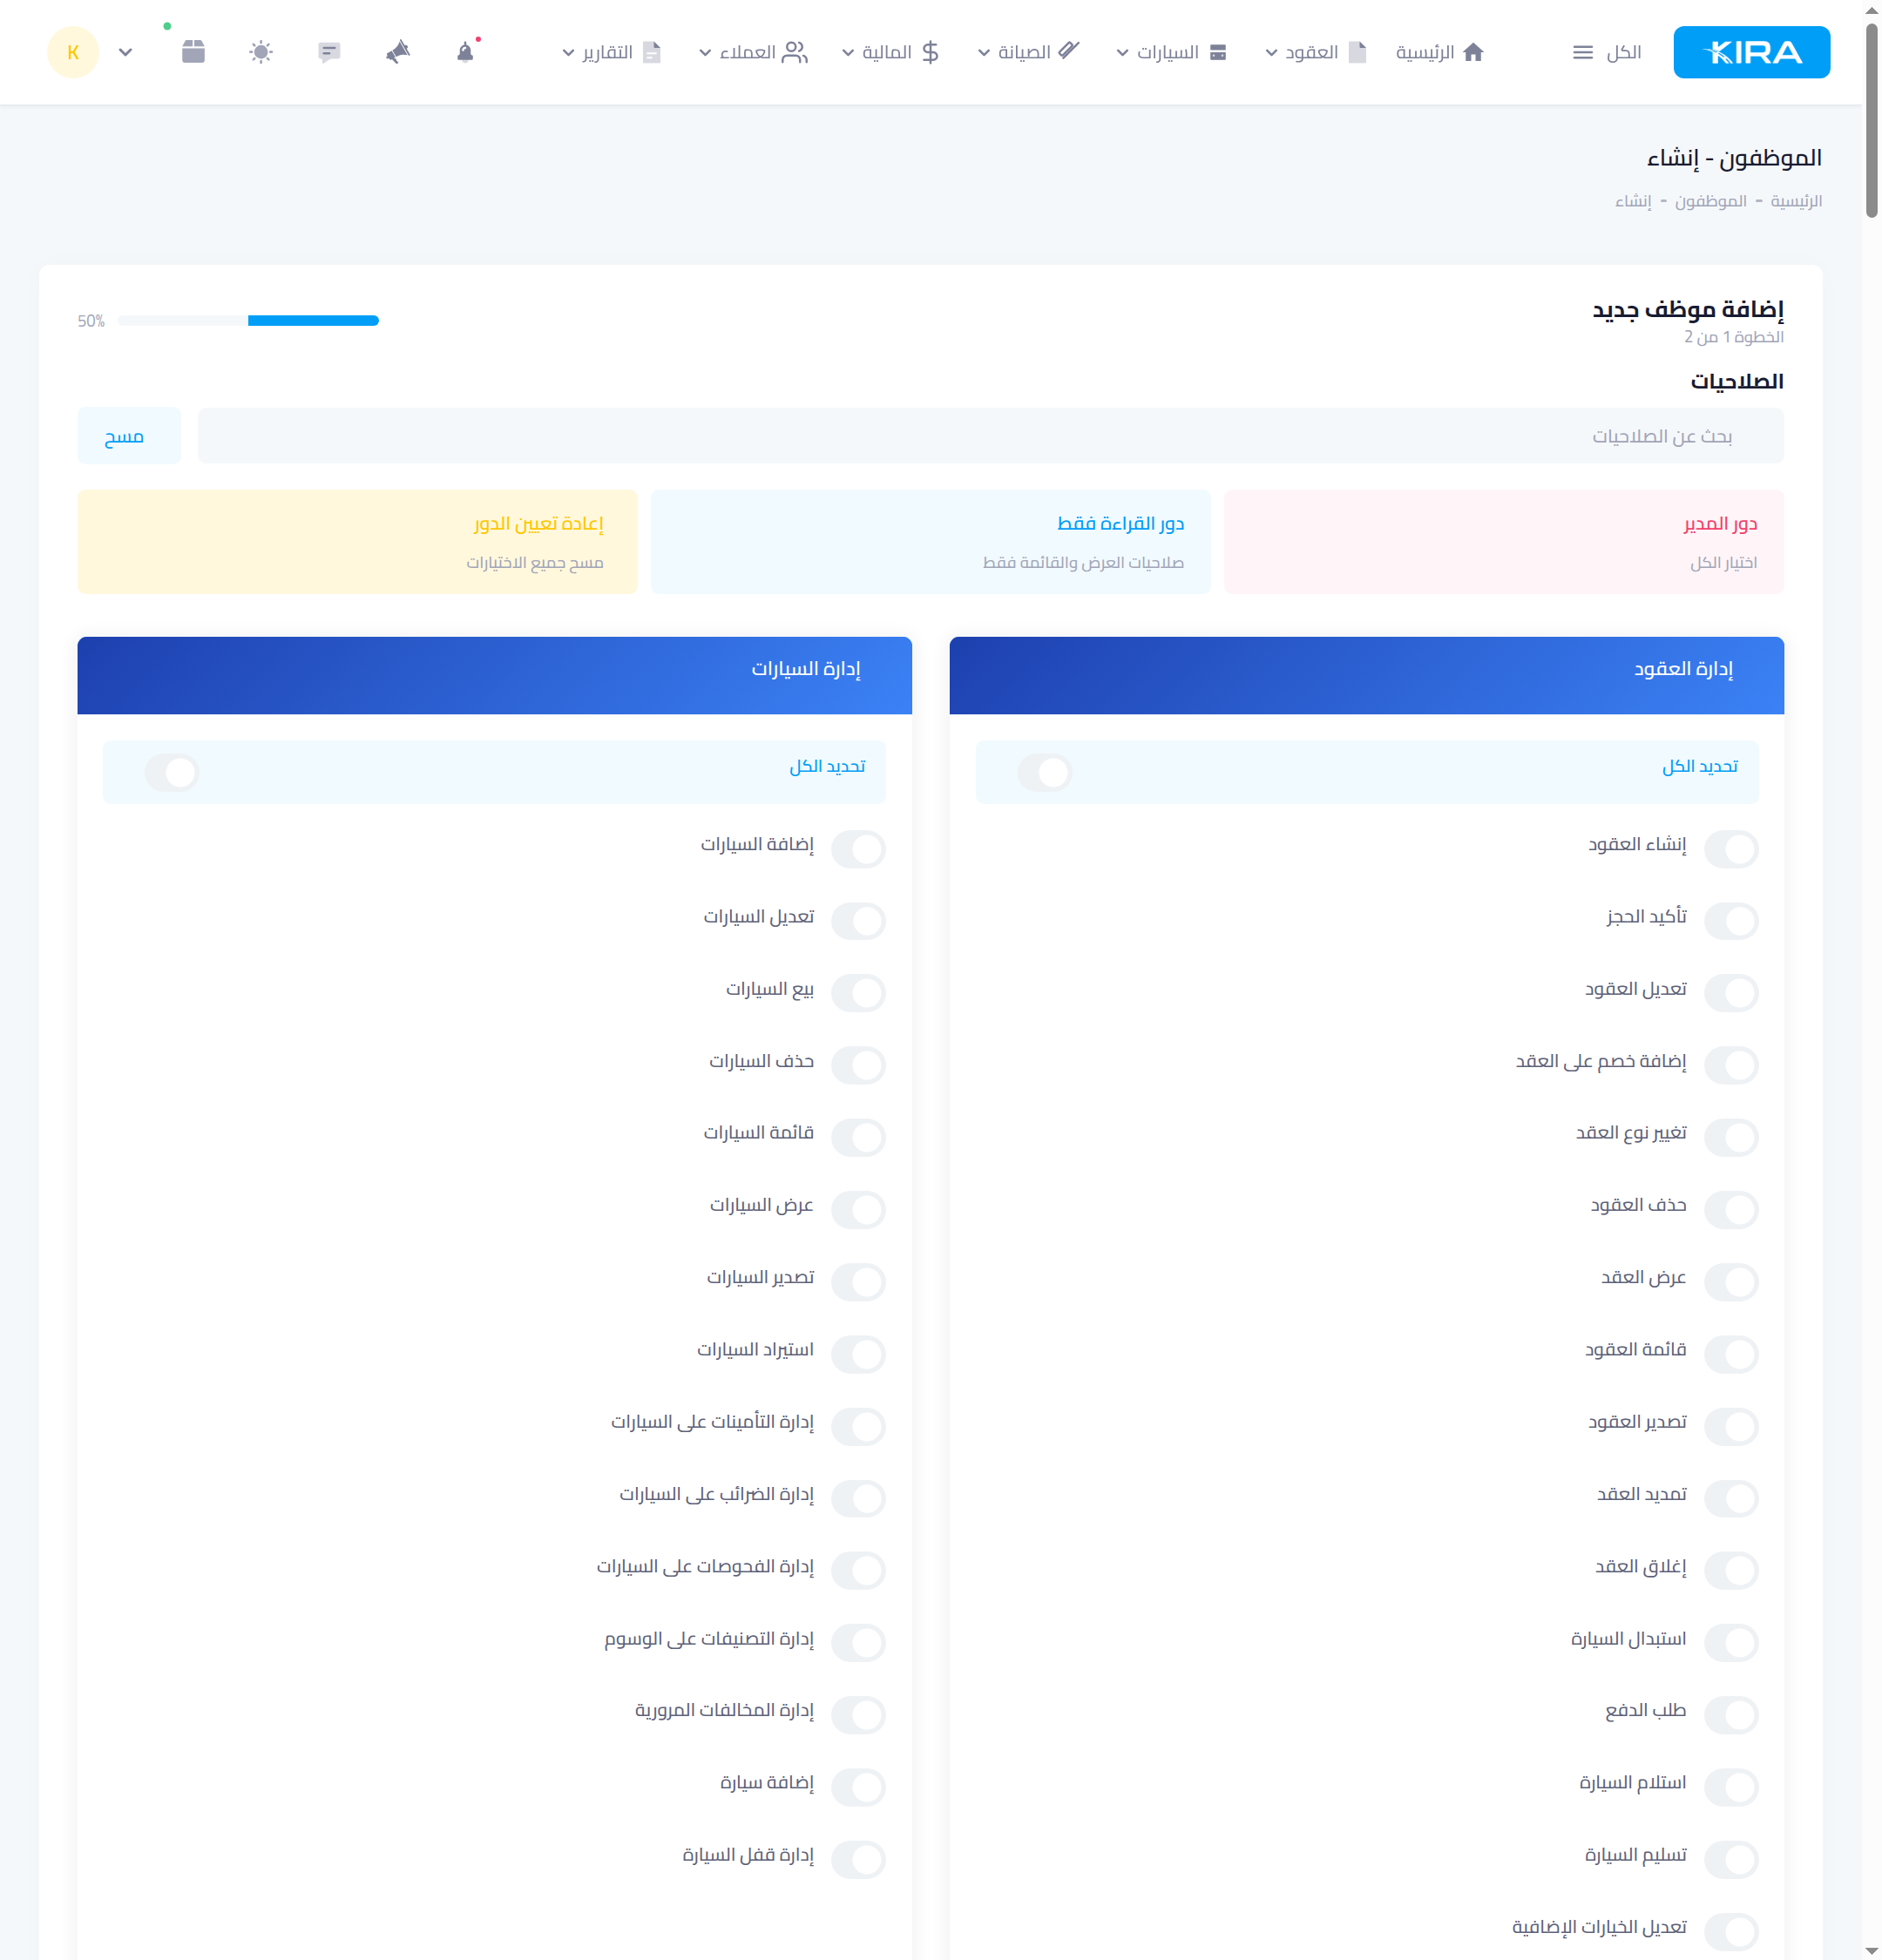
Step two shows permission groups as cards — contracts, cars, customers, finance, reports and more — each with fine-grained switches (create contracts, confirm bookings, delete contracts…).
- Quick start with roles: “Manager role” selects everything, “read-only role” grants view/list permissions only, and “reset role” clears the selection.
- Fine-tuning: use per-group “select all”, flip individual switches, or find any permission by name via the search box.
Golden rule: least privilege
- Front-desk staff: create contracts, handover and return — without contract deletion or discounts.
- Accountant: finance and reports — without editing cars.
- Sensitive permissions like “contract discount” and “delete contracts”: supervisors only.
Everything staff do is recorded in the staff activity log — who did what, and when.
Common mistakes
- Giving everyone the manager role for convenience: it opens deletion, discounts and financial reports to all staff. Scope precisely from day one.
- One shared account for several employees: ruins the activity log — create a named account per person.
- Overlooking branch access: an “all branches” employee sees everything — make sure it's intentional.
⬅ Next in the series: Part 5: Set Up Your Cash Boxes and Bank Accounts
Previous: Part 3 — Create Your Branches · Series index