Auto-Read & Fill Driver Document Data
Upload a photo of the driver's document (licence, ID, residence card, or passport) and the system reads it with AI to auto-fill the driver's details — with your review before saving.
No more typing driver details by hand. You can now upload a photo of the driver's document — driving licence, national ID, residence card, or passport — and the system reads it with AI and fills in the form automatically within seconds. You stay in control: review the data and edit anything before saving.
What is this feature?
The "Read & Fill Document Data" feature uses AI to read a photo of the driver's document and extract the details (name, document number, nationality, issue country and dates, expiry date, date of birth), then fills them into the add-driver form instantly. The goal is to speed up contract creation and reduce manual-entry errors.
- Works with: driving licence, national ID, residence card, and passport.
- Reading starts automatically as soon as you upload the image — no button needed.
- It fills only the empty fields and never overwrites what you typed yourself.
- Nothing is saved automatically — you review and confirm.
Where do I find it?
The feature appears whenever you add a new driver — whether during contract creation or from the Drivers page — inside the "Driver Details & Documents" window, specifically in the second step (Documents), where the document-image upload box is the first element at the top of the step.
To reach it during contract creation: open the contract-creation page, then click "Add Driver" → "Add New Driver".
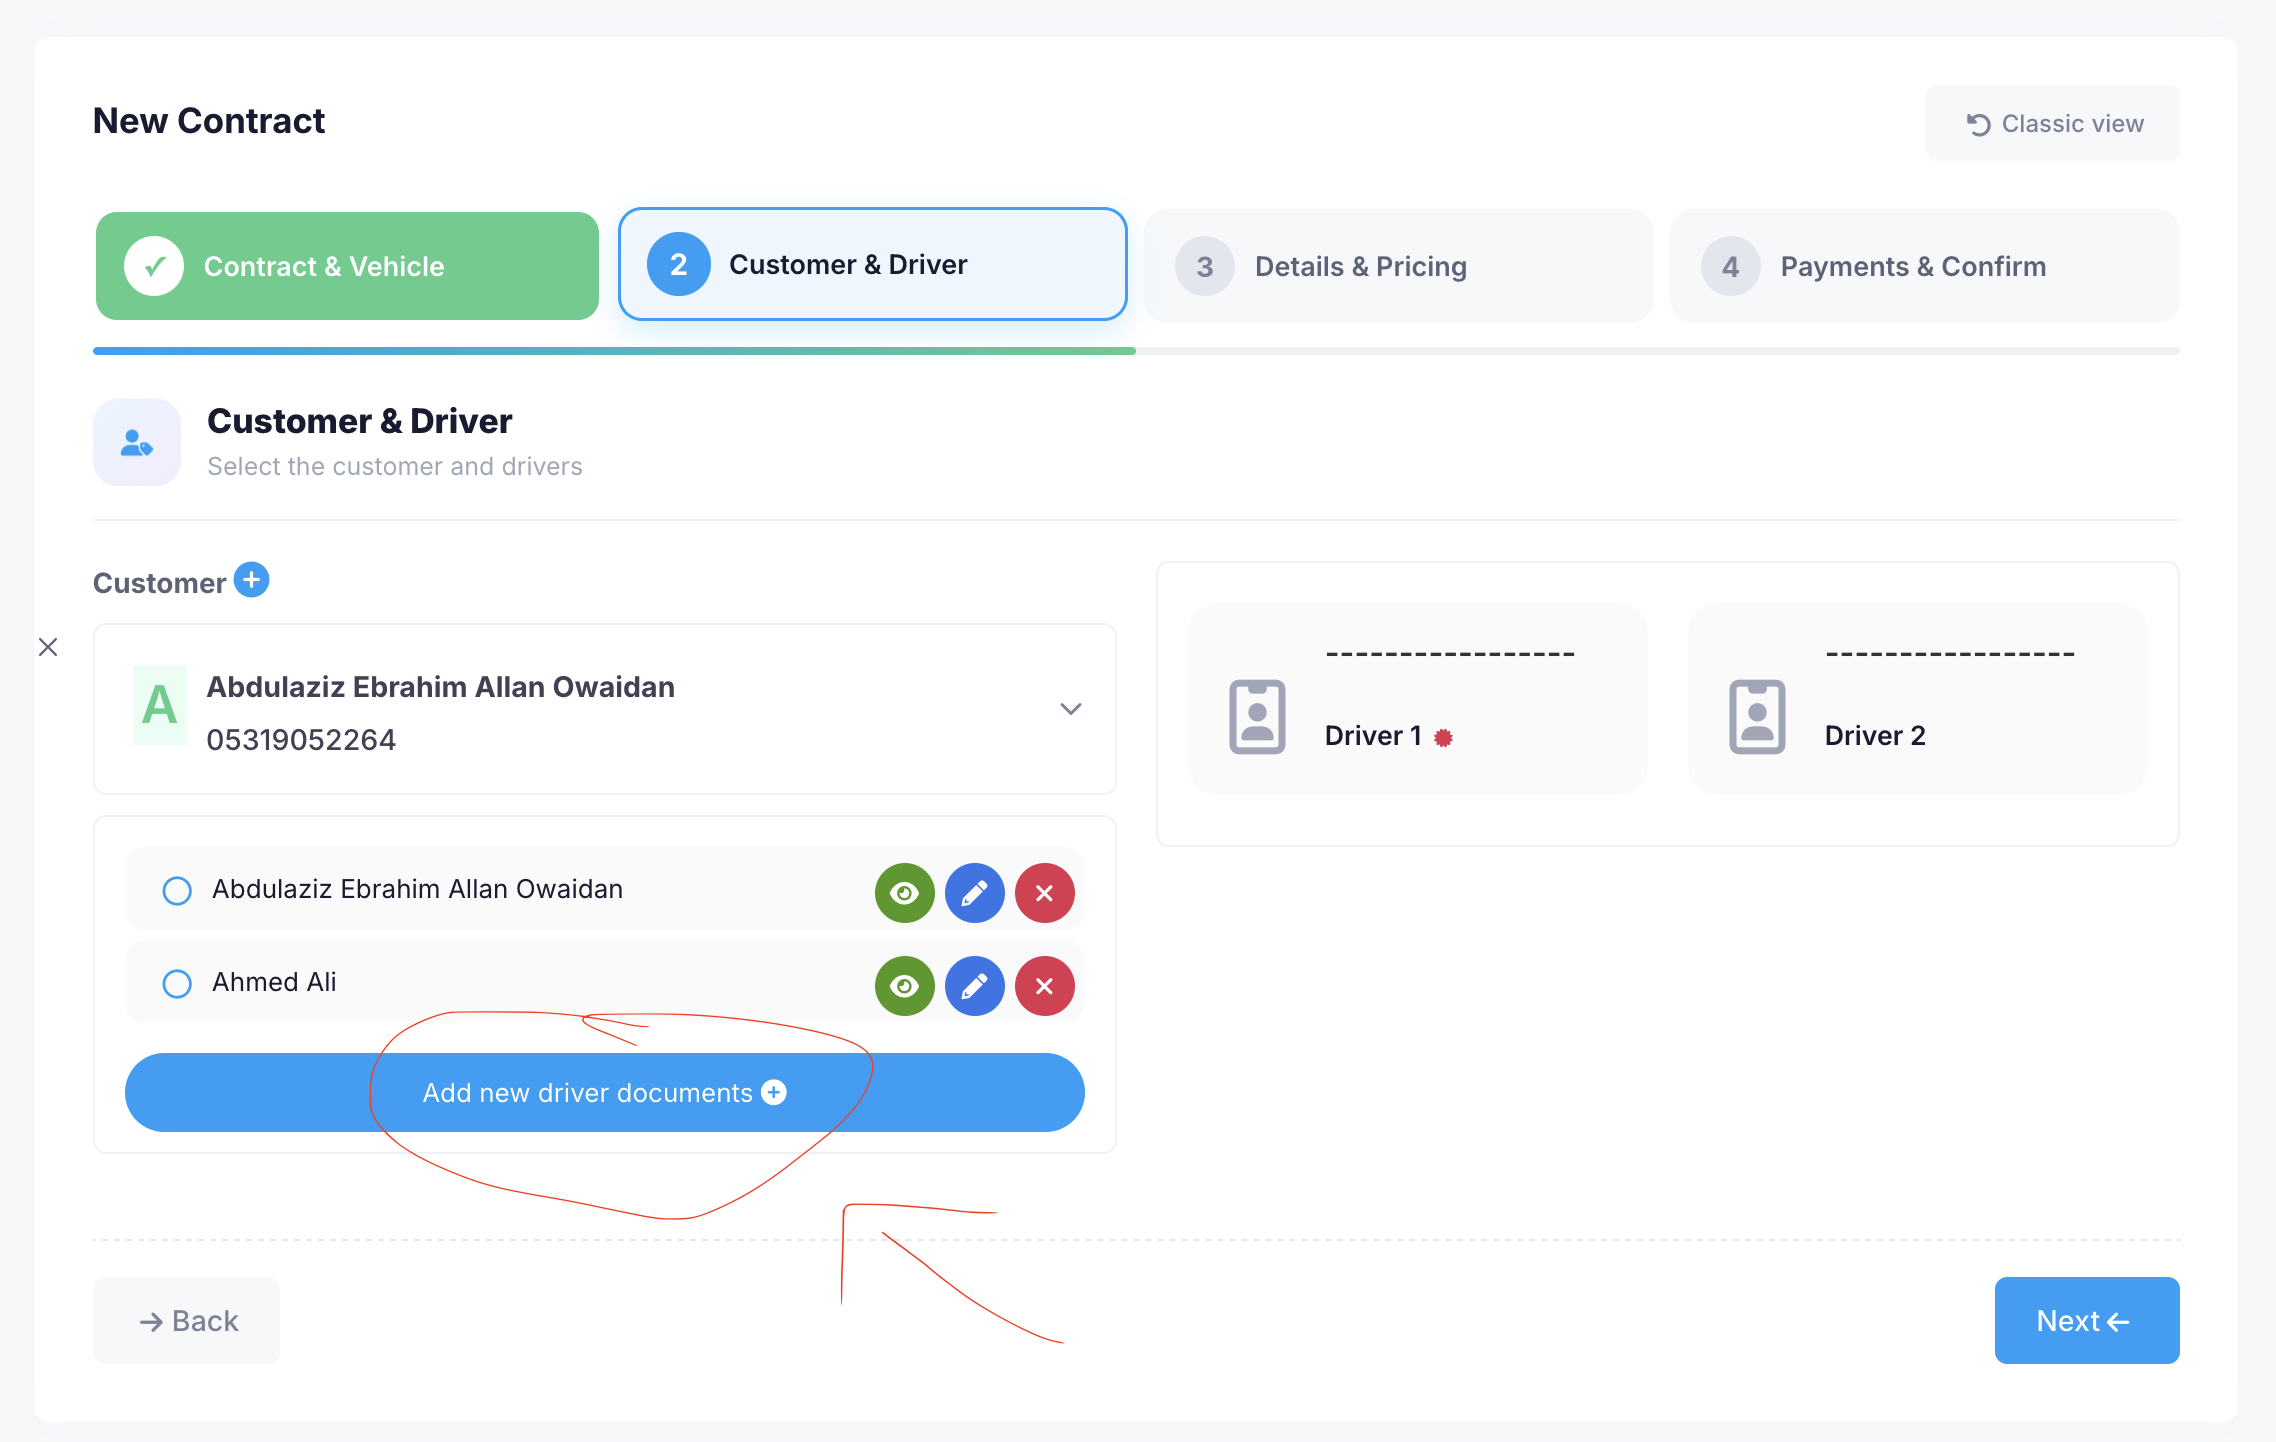
How to use it — step by step
- Choose the document type (driving licence / national ID / residence card / passport). This choice determines which fields appear.
- Upload a clear photo of the document. If the licence is two-sided, upload both sides together — the system reads each image and merges the data (the front usually carries the licence number, issue country, and the issue and expiry dates, while the back carries the nationality and date of birth).
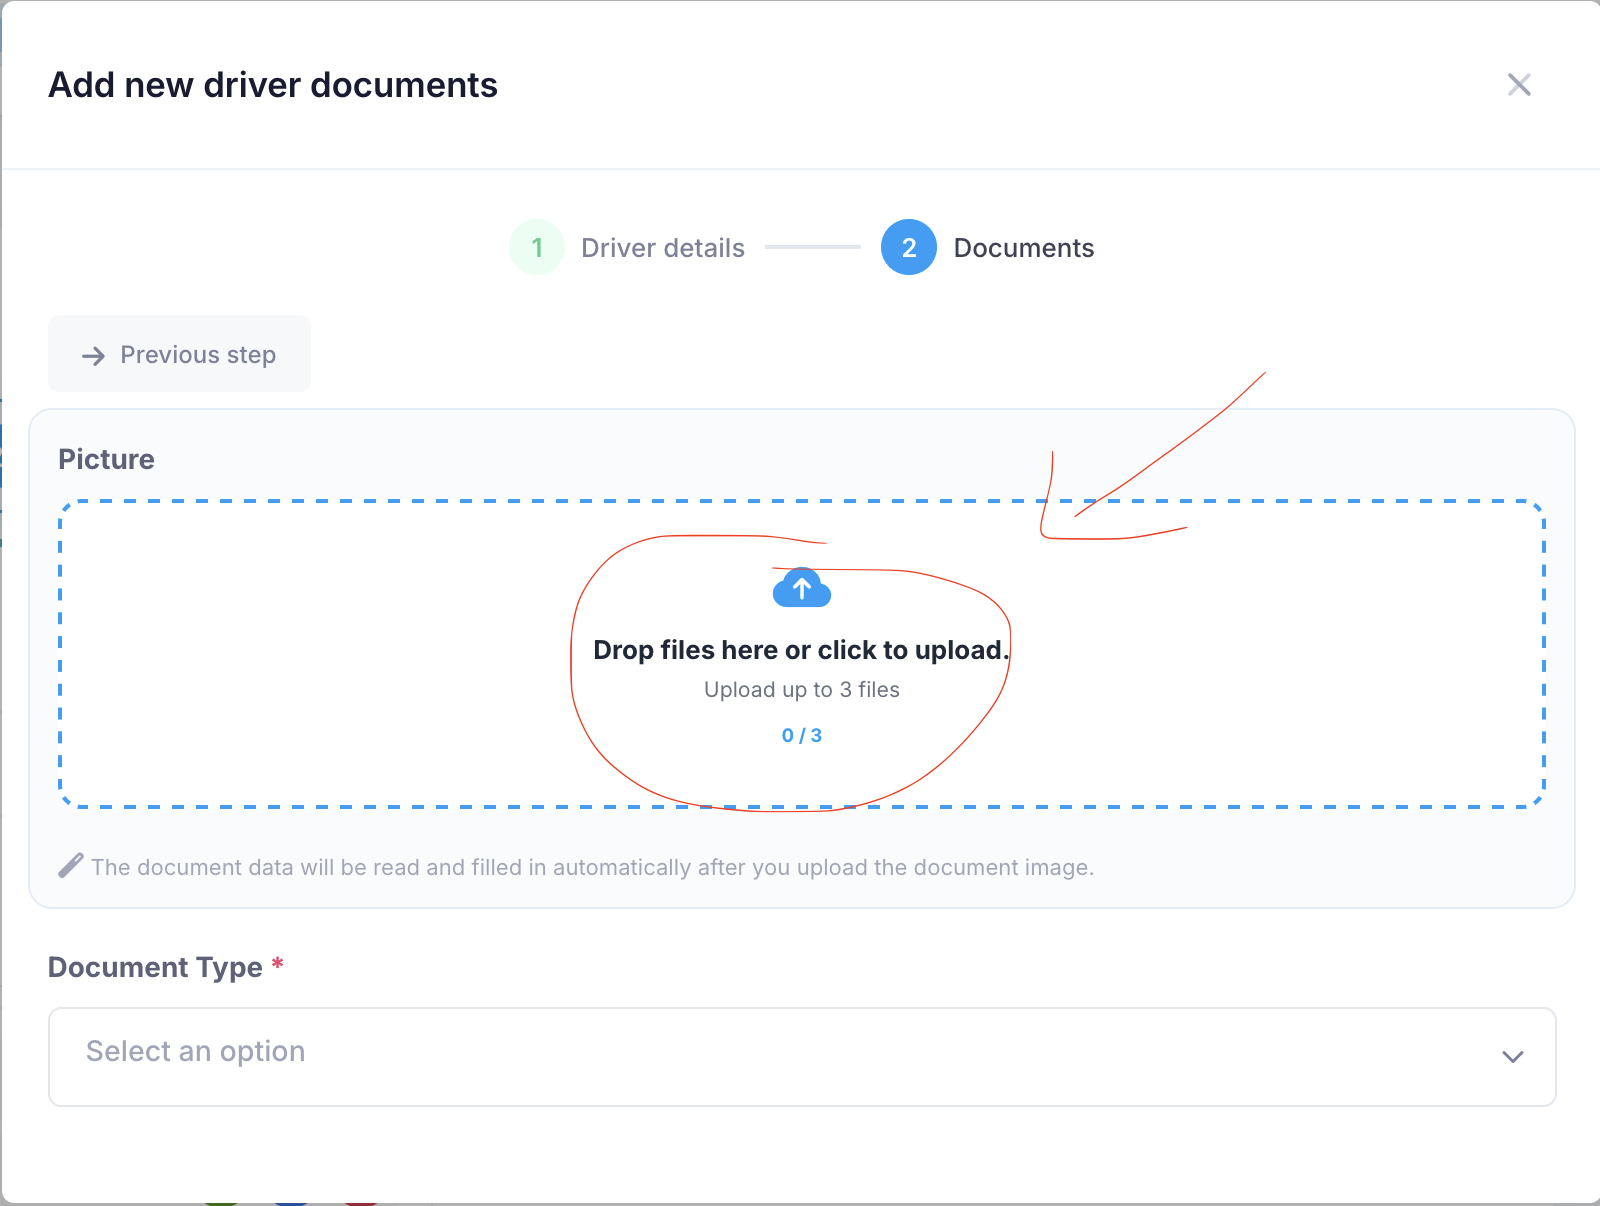
- Reading starts automatically once the upload completes — a loading indicator appears while the system reads the image.
- The fields fill in and are highlighted in a light green so you can easily spot what was filled, and a green review banner appears reminding you to check the data.
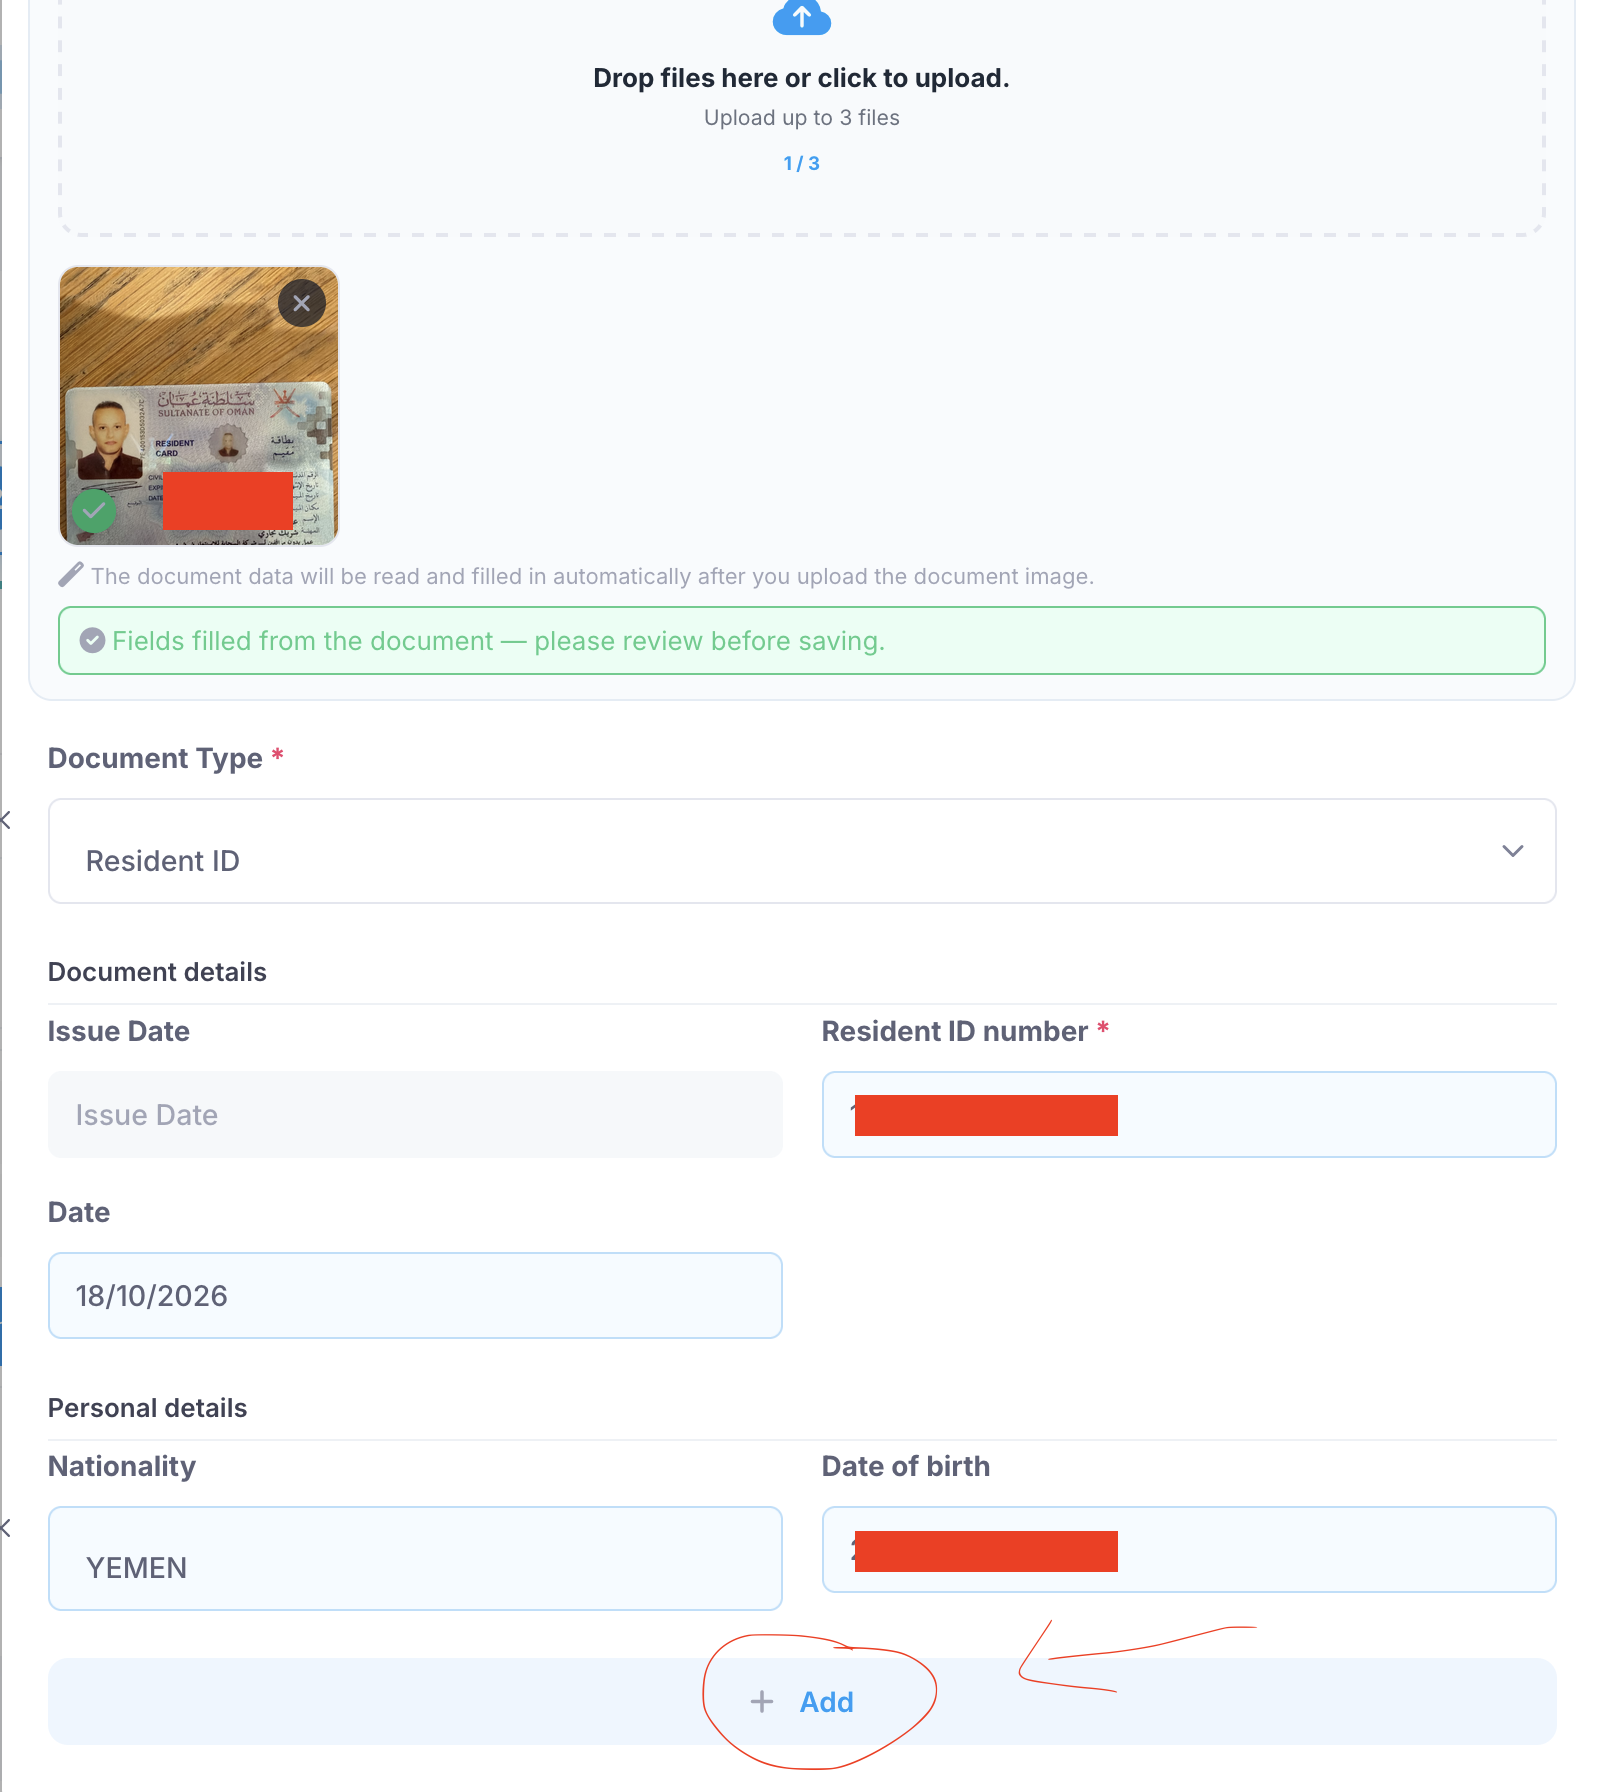
- Review and correct. Make sure the name, numbers, and dates are correct, and edit any field if needed. (The only mandatory field is the document number; all other fields are optional.)
- Add the document, then save.
Tips for the best reading
- You can upload an image (JPG, PNG, or HEIC) up to 15 MB.
- Use a clear, well-lit photo, and avoid glare and shadows on the document.
- Capture the whole document within the frame without cropping its edges.
- For two-sided licences: always upload both sides to ensure every field is filled.
- Always review the data before saving — the AI is an assistant, and the final decision is yours.
Privacy and review
The document image is read only to fill the form, and no data is saved automatically from the reading — the staff member remains the one who reviews all fields and confirms the save. The document type also stays your choice (it is not changed once you select it), and fields you filled in manually are never overwritten.